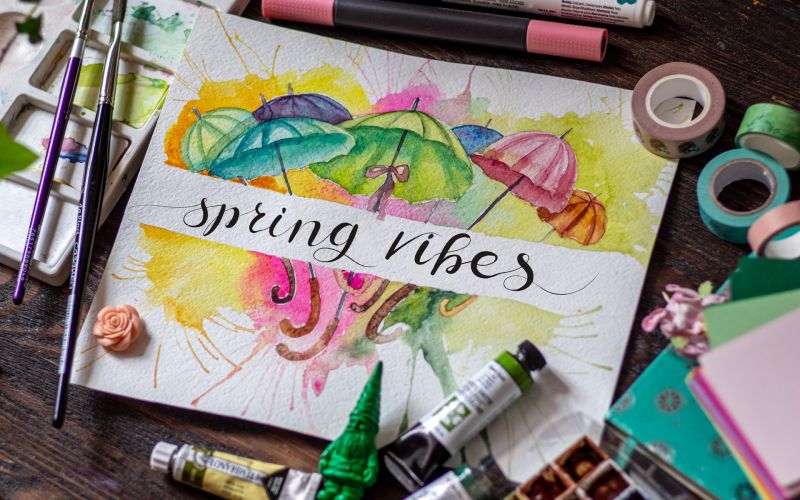
The elegant handwriting on the menus in cafeterias is truly mesmerizing. And you feel like you can write that too, so you return home and start writing, and all your imaginations come shattering down. Hand lettering can be intimidating, and you may want to give up before even starting. But as intricate as it seems, there is nothing that some consistent practice cannot breakthrough. Begin with small steps before running, and you will definitely reap the rewards of your watercolor hand-lettering passion.
Here is an all-you-need beginner’s guide on watercolor hand-lettering for you-
Things to Know-
- Hand-lettering is the art of writing with watercolors where the artist expresses their emotions without being bound by any strict laws of writing.
- Your posture and handgrip significantly affect the result you will receive.
- We recommend a rough practice before moving to the main sheet. Use cap lines, x-lines, and baselines to create your alphabets. The cap line and x-line determine the height of the uppercase and lowercase letters throughout the piece, respectively. While baseline guides where the letters sit.
- Watercolor hand-lettering is not about perfection; it is supposed to look flawless and natural in its own way.
- Do not overwork your colors while writing, or they will bleed into the sheet.
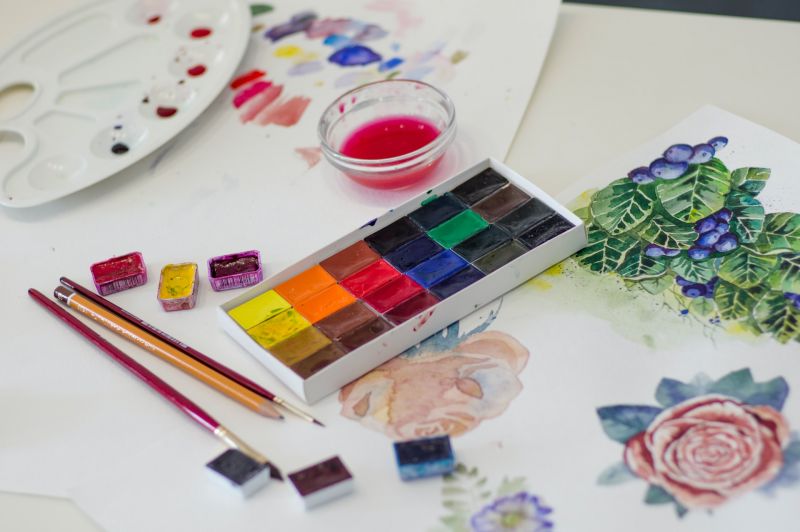
Hand Lettering Starter Kit-
You will need some essential supplies before starting-
- Paper: Use high-quality papers that do not make your color bleed or give a pilling effect. You can use a sketch or printer paper for the draft. You will need watercolor paper for watercolor hand-lettering.
- Watercolors
- Water
- Paper towel
- Small round brush
- Pencil
- Rulers
Creating Watercolor Handlettering-
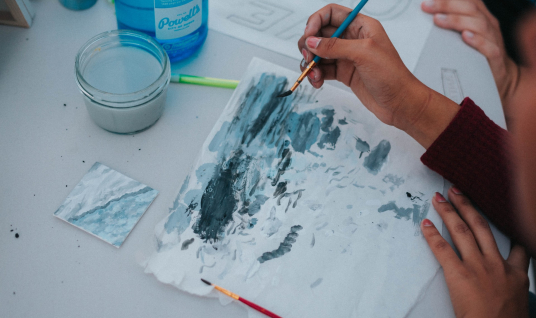
Step #1- Create a draft: Choose what you want to draw and write it on printer paper using a pen or pencil. You can use rulers for making the cap, x, and baselines. Give enough spacing between your letters for initial practice papers, so it is easy to paint them with your paintbrush later. You can also directly print out a stencil if you are going for a more complex font style.
Step #2- Copy draft on the main sheet: Once you have your stencil, you need to copy it onto your main watercolor paper. For this, you can use carbon paper with the darker side down on your watercolor paper and your draft on top. Now simply trace the outlines of your text with a pencil to get the carbon print onto your watercolor paper.
Step #3- Prepare your paint: Mix water into your paint and let it sit to merge perfectly. If you want to create your color, use a separate palette to make your shade. Be sure you mix as much color as you need. Also, keep your paint to a milk consistency for better flow.
Step #4- Painting: Load paint by twisting your brush in it. It gives even color with every stroke. If there is excess paint, you can dab your brush in the paper towel. Move according to your draft to complete your piece. Make sure you let it dry completely.
About ArtHustle-
Learn watercolor hand-lettering techniques by joining the creative community of impressive artists at ArtHustle. Our expert artists offer lessons on illustrative watercolor portraits, landscapes, and much more. For more details, head on to our website.